







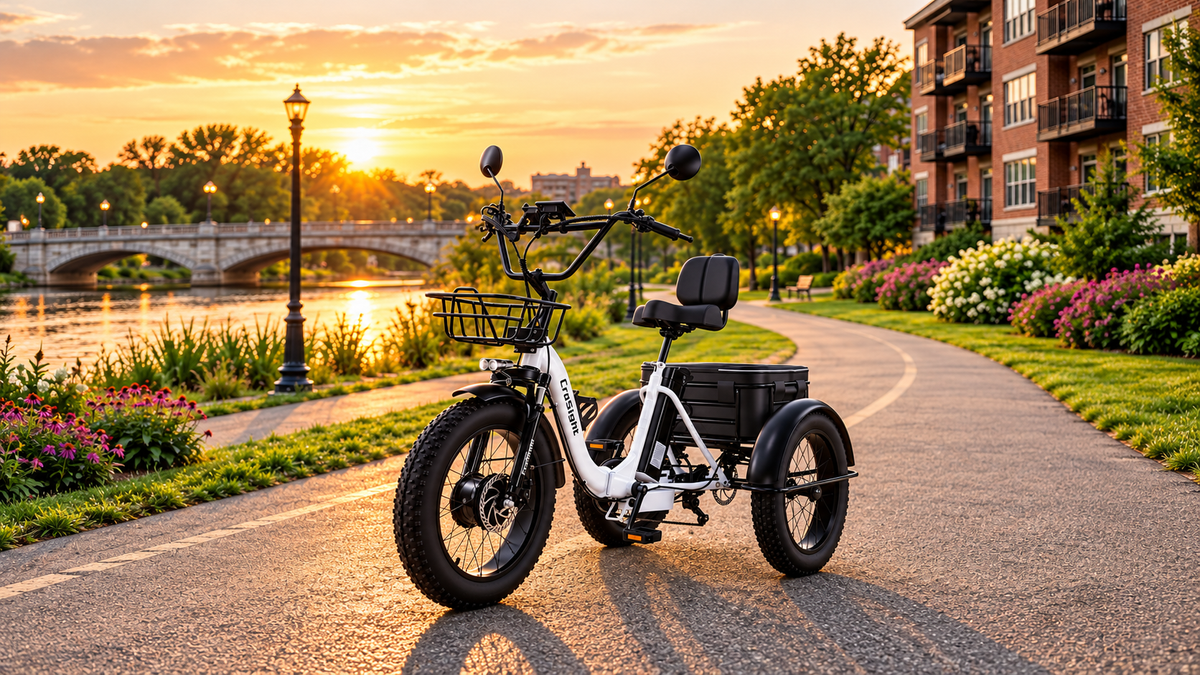
Your First Electric Trike Ride Starts Before You Leave the Driveway
Your new electric trike is finally here. The box is open, the battery is charged, and you're already thinking about that first ride around the neighborhood.
It's an exciting moment. But before you head down the driveway, there's something worth knowing: riding an electric trike isn't quite the same as riding a regular bicycle.
Three wheels make starting and stopping different, but turning takes some getting used to. Even experienced cyclists can be surprised by how a trike handles its first corner.
You can see this in Reddit discussions about adult tricycles. Some riders talk about enjoying neighborhood rides and everyday errands. Others share a less obvious lesson: slowing down before turns matters more than they initially expected.
The good news? You don't need to master everything on your first day. A little preparation and a few simple exercises can help you become familiar with your trike before taking it somewhere busier.
1. Before Your First Ride, Get to Know Your Trike
It's tempting to finish assembling your trike and immediately take it outside. Instead, spend a few minutes making sure everything is properly set up.
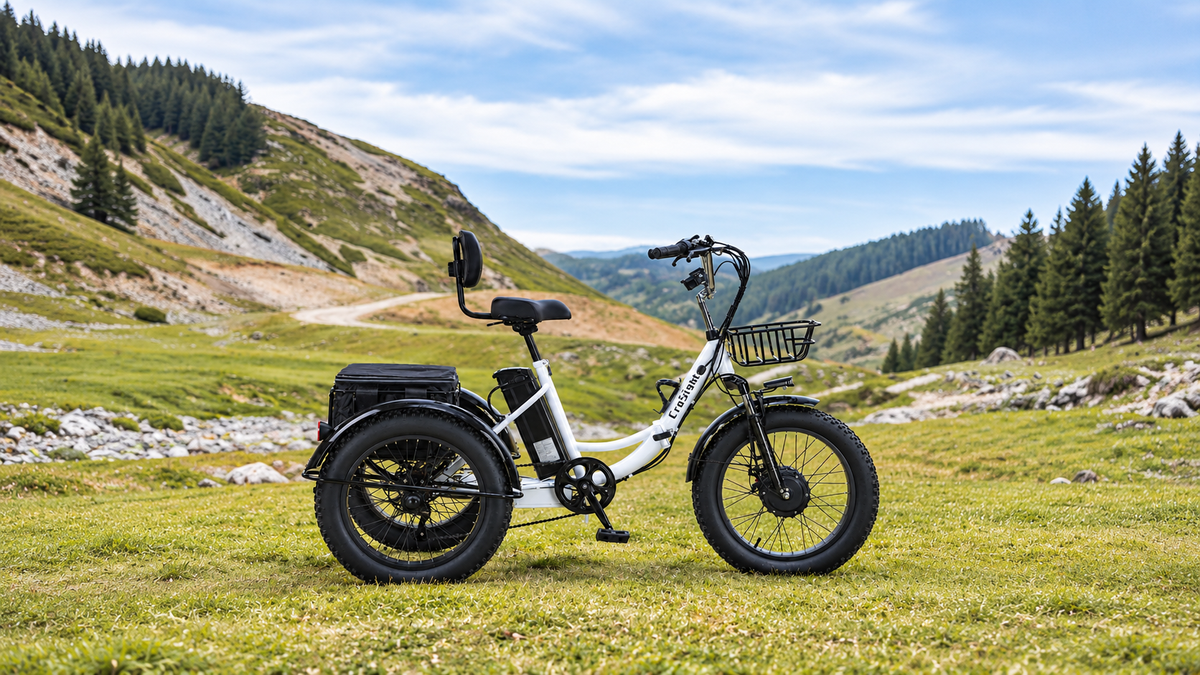
If you own a CroSight T3 Classic or T3 Pro, start with the owner's manual for your exact model and version. Product photos are useful for identifying your trike, but they shouldn't be your assembly instructions.
If anything is missing or unclear, contact CroSight support with your order information and a photo of your model label. A qualified mechanic familiar with electric trikes can also help verify an uncertain installation.
Once assembly is complete, check the tires, brakes, steering, wheels, battery mounting, and any folding locks. Make sure the seat and handlebars are secure and comfortably positioned.
The NHTSA pre-ride safety check offers a useful reminder of the basics: tires, brakes, and drivetrain.
Now sit on the trike while it's properly secured against rolling.
Can you reach both brake levers comfortably? Can you operate the controls without stretching? Does the seat feel secure?
Small adjustments are much easier to deal with in the garage than halfway through a ride. If a safety-related adjustment cannot be completed or verified, don't ride until it's resolved.
2. Pick Somewhere Easy for Your First Practice
Your first riding location doesn't need to be exciting. In fact, a quiet, flat, open space is probably the best choice.
An empty parking lot where cycling is permitted, a spacious paved private area, or a suitable traffic-free practice space can work well.
According to the National Highway Traffic Safety Administration, new riders should develop their skills away from traffic before moving into more complicated riding environments.
Look around before starting. Is the ground level? Are there potholes, drain grates, loose gravel, or vehicles that might cross your path? Is there enough room to turn around without getting close to a curb?
Wear a properly fitted helmet and suitable shoes, and leave your cargo baskets empty for now.
If a friend or family member wants to come along, that's fine too. Having someone observe from a safe distance can be useful, especially when you're learning how much room the rear wheels need.
For now, forget about distance or speed. The goal is simply to get comfortable with the controls and the way the trike moves.
3. Five Simple Exercises for Your First Electric Trike Ride
You don't need a complicated training course. Start with these five exercises, and take as much time as you need with each one.
Step 1: Get Comfortable Before Moving
With the trike secured and the power off, practice getting on and off.
Find a comfortable seated position and check that your hands reach the brakes naturally. Locate the power button, pedal-assist controls, lights, and throttle or parking brake if your model has them.
Make sure you understand how motor assistance is activated and stopped according to your manual.
There should be no guessing about which control does what once you're moving.
Step 2: Start Slowly and Practice Stopping
Find a long, clear stretch of pavement.
Following your owner's manual, begin with the lowest appropriate assistance setting. Move forward a short distance, then gradually apply the brakes and come to a complete stop.
Try it again.
The first few attempts might feel unfamiliar, especially if you're used to a regular bicycle. That's normal when learning a different type of vehicle.
What matters is being able to start smoothly, control your speed, and stop where you intended without unexpected acceleration.
If the motor responds unexpectedly or the brakes don't feel right, stop practicing until you've identified and resolved the problem.
Step 3: Make Wide, Gentle Turns
Here's where you may notice the biggest difference between a bicycle and an upright trike.
On a bicycle, the bike naturally leans as you turn. An upright trike behaves differently, and its three-wheel design doesn't eliminate the possibility of tipping.
Start with wide, slow turns. Reduce your speed before entering the turn, steer smoothly, and follow the turning guidance in your manual.
Try turning left, then right, with plenty of open space around you.
Don't add unnecessary speed or attempt sharp corners yet.
Step 4: Learn Where Your Rear Wheels Go
This is one of the most useful habits you can develop.
Imagine riding past a post. Your front wheel clears it easily, so you assume the rest of the trike will too.
But your rear wheels follow their own paths, and one may come much closer to the post than you expected.
For practice, use painted parking-space lines or other flat ground markings to visualize the width of your trike. Leave generous clearance instead of trying to ride close to a boundary.
After stopping, think about three questions: Did the front wheel follow the curve you wanted? Did both rear wheels stay comfortably inside the clear area? Did you still have enough room to stop?
Don't look backward at your rear wheels while riding. Keep your attention on where you're going.
If judging the rear-wheel path remains difficult, ask someone to observe from outside your practice area or seek instruction before attempting narrower spaces.
Step 5: Take One Short, Familiar Ride
Once starting, stopping, and wide turns feel consistent, you can plan a simple first outing.
Maybe it's a short ride along a permitted, quiet neighborhood route or a nearby paved path you've already checked.
Choose somewhere with an easy place to turn around and return. Avoid steep slopes, narrow passages, heavy traffic, and unfamiliar obstacles until you've developed the skills to handle them.
You don't have to ride far to have a good first experience.
If you find yourself concentrating more on the controls than enjoying the ride, that's a good reason to shorten the outing.
4. What Other Trike Riders Wish They Had Known Earlier
One interesting thing about reading electric-trike discussions online is how different people's first experiences can be.
Some riders quickly enjoy the freedom of a three-wheel ride. Others discover that habits developed on a two-wheel bicycle don't always translate to a trike.
In a Reddit conversation about learning to ride an adult tricycle, experienced riders point out that a trike has its own learning curve, particularly when it comes to turning.
That's an important distinction.
Three wheels can make balancing at a stop easier, but they don't make every riding situation automatically safe.
Another guide from Cycling UK also notes that upright trikes can feel less stable when sharp corners are taken too quickly.
There are a few everyday situations worth keeping in mind.
Turning into a driveway: Slow down early and look at the whole route, not just the front wheel. Give the rear wheels enough room to follow.
Riding across uneven ground: A bump or slope under one rear wheel can affect how the trike feels. Don't assume that three wheels will keep the vehicle level on every surface.
Carrying groceries: Cargo is one of the practical reasons people choose electric trikes. But additional weight can change handling. Learn to ride without cargo first, then follow your model's loading instructions and limits.
Stopping on a slope: A trike can still roll when parked. Follow your manual's parking-brake and securing instructions, and don't treat an incline like a flat practice area.
These situations aren't reasons to avoid electric trikes. They're reminders that getting comfortable with the vehicle is part of enjoying it.
5. Don't Measure Your First Ride by the Miles
There's no rule saying your first electric trike ride needs to be five miles, ten miles, or even a complete trip around the neighborhood.
Maybe you spend fifteen minutes practicing smooth stops. Maybe you discover that left turns feel easy but right turns need more room.
That's useful progress.
The important thing is knowing when to stop.
Loose steering, weak brakes, unusual motor behavior, unsecured folding parts, or unexplained warning messages are reasons to end the session and have the issue checked. Being tired or uncomfortable is also a good reason to call it a day.
Before putting your trike away, think about one thing that went well and one thing you'd like to practice next.
It could be as simple as:
“Starting and stopping felt good today. Next time, I'll work on making wider right turns.”
On your next ride, do your normal pre-ride inspection, revisit what you learned, and build from there.
Soon enough, the controls will feel more familiar, and you'll spend less time thinking about the mechanics of riding and more time enjoying where you're going.
Your first electric trike ride doesn't need to be perfect. It just needs to be a good place to start.


Leave a comment
This site is protected by hCaptcha and the hCaptcha Privacy Policy and Terms of Service apply.